
Roti prata
no machine or flipping required!

Welcome to Singapore Noodles, a celebration of Asian culinary traditions and food cultures. Archived recipes and other content can be found on the index. My cookbooks Wet Market to Table and PlantAsia are available for purchase here and here respectively. Thank you for being here, and enjoy this week’s post. ✨ — Pamelia

Roti prata has always been an important part of my life. For readers unfamiliar with this flatbread, it originates from the Indian paratha (पराठा), a word derived from the combination of “parat” (परत), meaning layers, and “atta” (आटा), meaning flour. This describes a layered, unleavened bread made from wheat flour. The term “roti” is commonly used in both Malay and many South Asian languages to refer to bread or flatbread, while “prata” is a shortened form of the word “paratha.”
The unique texture of roti prata is created by stretching the dough into a thin sheet, then folding or coiling it to form multiple layers before cooking it on a hot griddle. The exterior becomes crunchy due to the caramelization of fat and flour, while the inside reveals membrane-thin layers that provide a pleasant chewiness.
While there are many regional variations of paratha in India, it is regarded primarily as a vehicle for the dishes it accompanies. In Singapore, however, prata is the main event. The curries served alongside—typically mutton or fish curry—are mere footnotes. There are endless permutations of roti prata (or prata for short) you can find across the island, depending on how it is shaped and what it is cooked with. Some examples include tissue prata, where the sheet of dough is placed directly on the griddle and manipulated into a giant cone as it browns; egg prata, where a beaten egg is tucked within the layers; or banana prata, a sweet variation with banana slices that turn gooey as the prata fries. You can also enjoy plain prata simply dipped into a tidy mound of sugar.
Before moving abroad, I lived in Marymount, which has some of the city’s most notable prata spots: Sin Ming Prata, famed for coin prata which are silver-dollar-sized and extra crunchy; Springleaf Prata, which I appreciate for its consistency; and Prata House, where the prata pales compared to the other two but was my go-to for late-night supper spot as a student. It was an affordable breakfast or late-night snack that I enjoyed without much thought—until I moved to Melbourne in 2018 and saw how popular roti was there, often commanding price tags as high as AU$16 in restaurants.
It made me reconsider the value we place on traditional dishes, and realise that roti prata was something I could make at home. What I’ve learnt in the years of experimenting is that you can make great prata without special equipment like a stand mixer and without having to flip the dough, which is often the trickiest part which discourages most from attempting prata.
THE DOUGH
Prata dough is simple—flour, salt, water, some fat, and a sweetener. Some people substitute evaporated milk for water and use condensed milk as the sweetener, but I avoid this because it’s inconvenient to buy a whole tin when only a small amount is needed, and the flavour difference is minimal, especially if you’re going to serve the prata with curry. My recipe includes only flour, salt, water, melted butter, and sugar. If you’re vegan, you can substitute melted coconut oil or neutral oil for the butter.
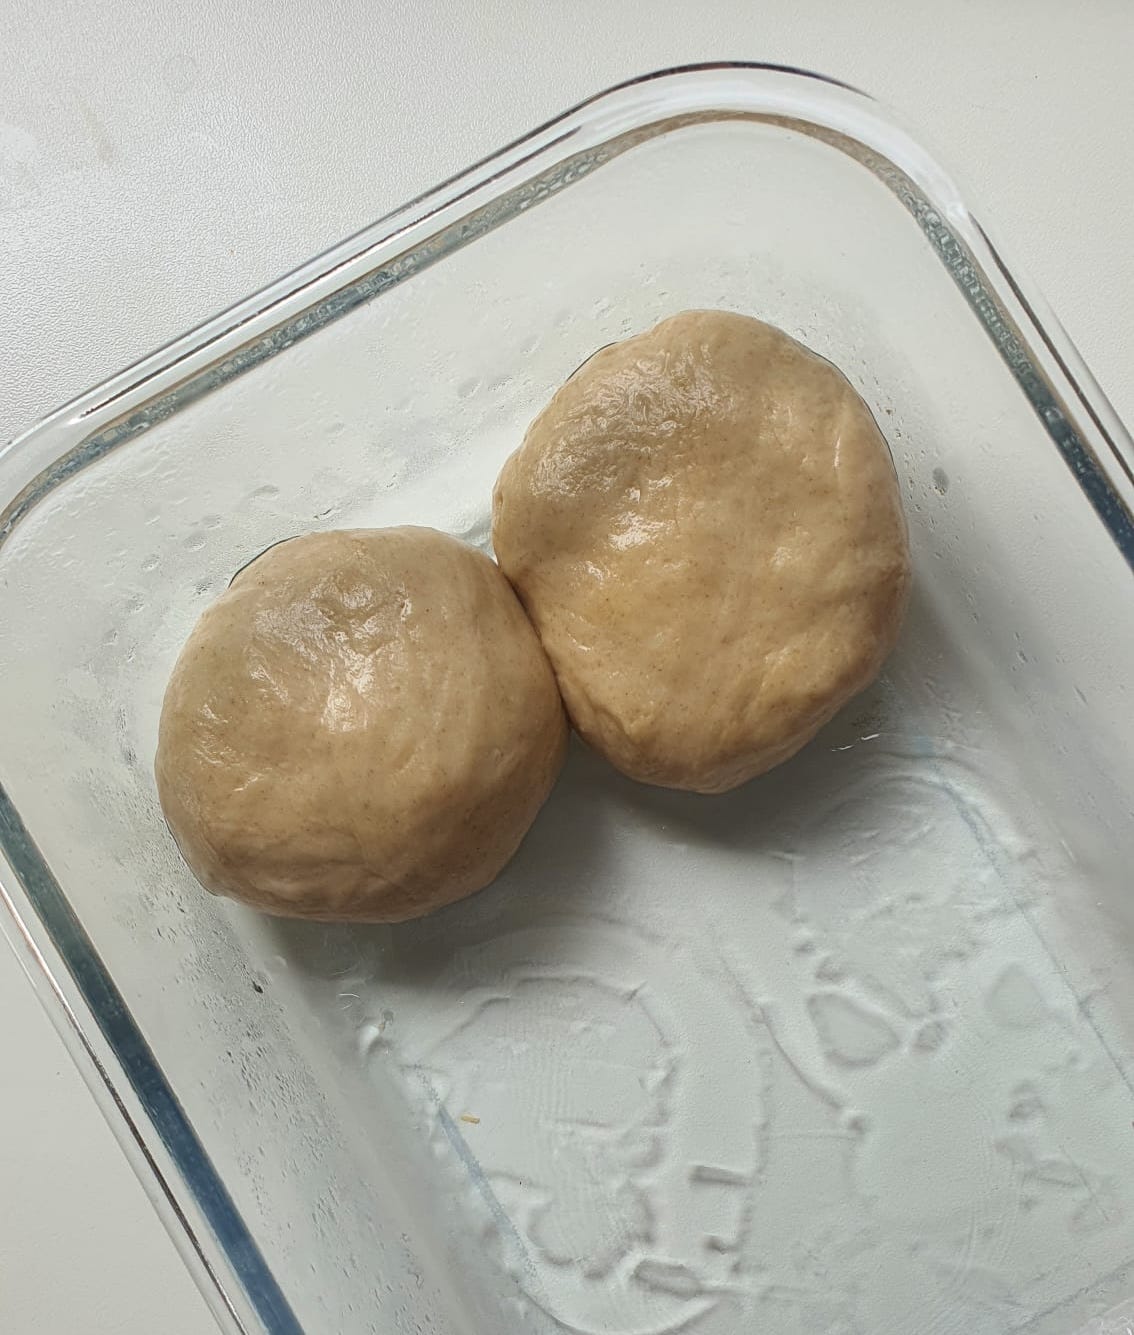
The idea with roti prata dough is that it needs to be strong and elastic enough to stretch out thinly without tearing—in bread-making terms, the stretched dough should form a giant “windowpane.” While some cooks use a stand mixer to develop this strength and elasticity, time can be just as effective, without the need for elbow grease or machinery. In fact, one of my favourite brioche recipes is a no-knead one from Weekend Bakery, where a 24- to 48-hour rest in the refrigerator compensates for the intensive kneading. The same principle applies to roti prata—the key to a strong, stretchable dough is rest. Your job is simply to mix all the ingredients in a bowl, divide the dough into portions, coat them in oil, and then let them rest overnight.
After running several trials, I’ve noted that the dough’s hydration level is crucial. I used to think prata dough should be quite soft to make it easier to stretch. However, I’ve found that when the dough is too soft, the portioned dough balls tend to “melt” into one another during the overnight rest and tear easily when stretched.
THE STRETCHING
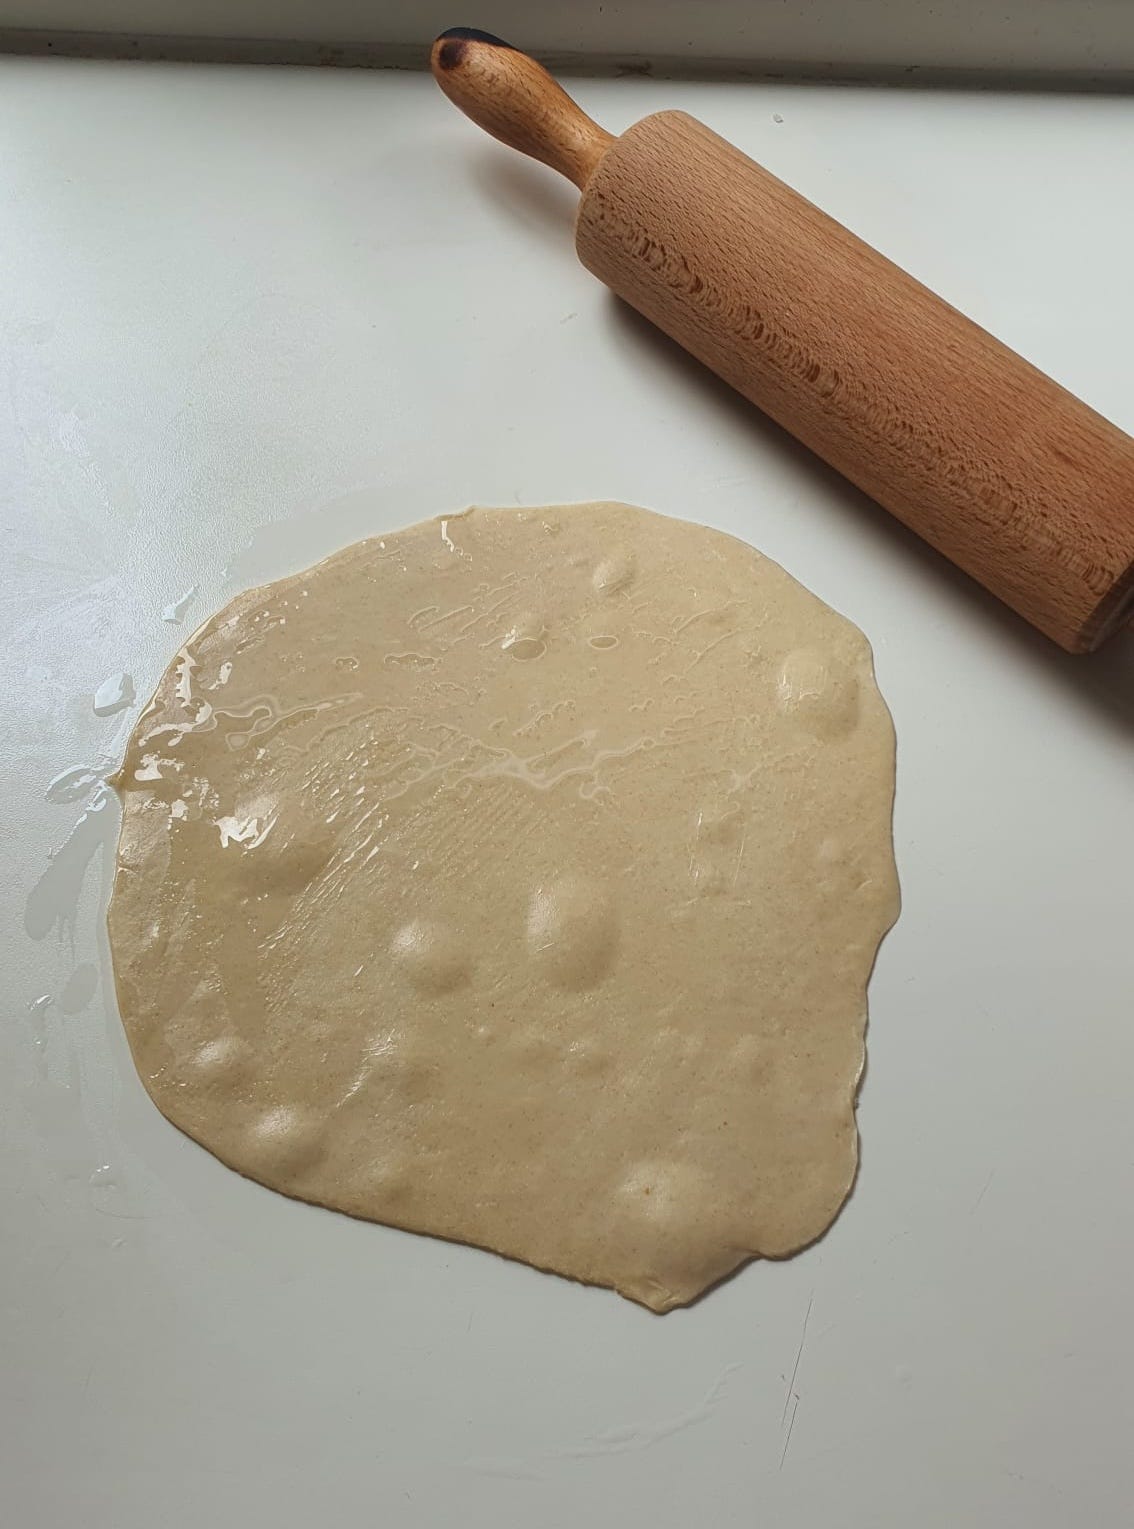
Once rested, the prata dough needs to be stretched out. This is the most important part of the prata-making process: if the dough is not thin enough, you’ll never end up with the shatteringly brittle exterior or requisite tender layers within.
You start by flattening the dough into a thin disc with a rolling pin or the heel of your palm, then stretch it further by rotating it in the air—leading with one hand while the other acts as a fulcrum. This motion is often called “flipping,” but I find the term confuses students in my cooking classes, as they assume the dough must be literally flipped onto its other side. While this is certainly possible with practice, it requires time to perfect. Fortunately, there’s an alternative method: gently stretching the dough out, much like you would with strudel dough.

THE SHAPING AND FRYING
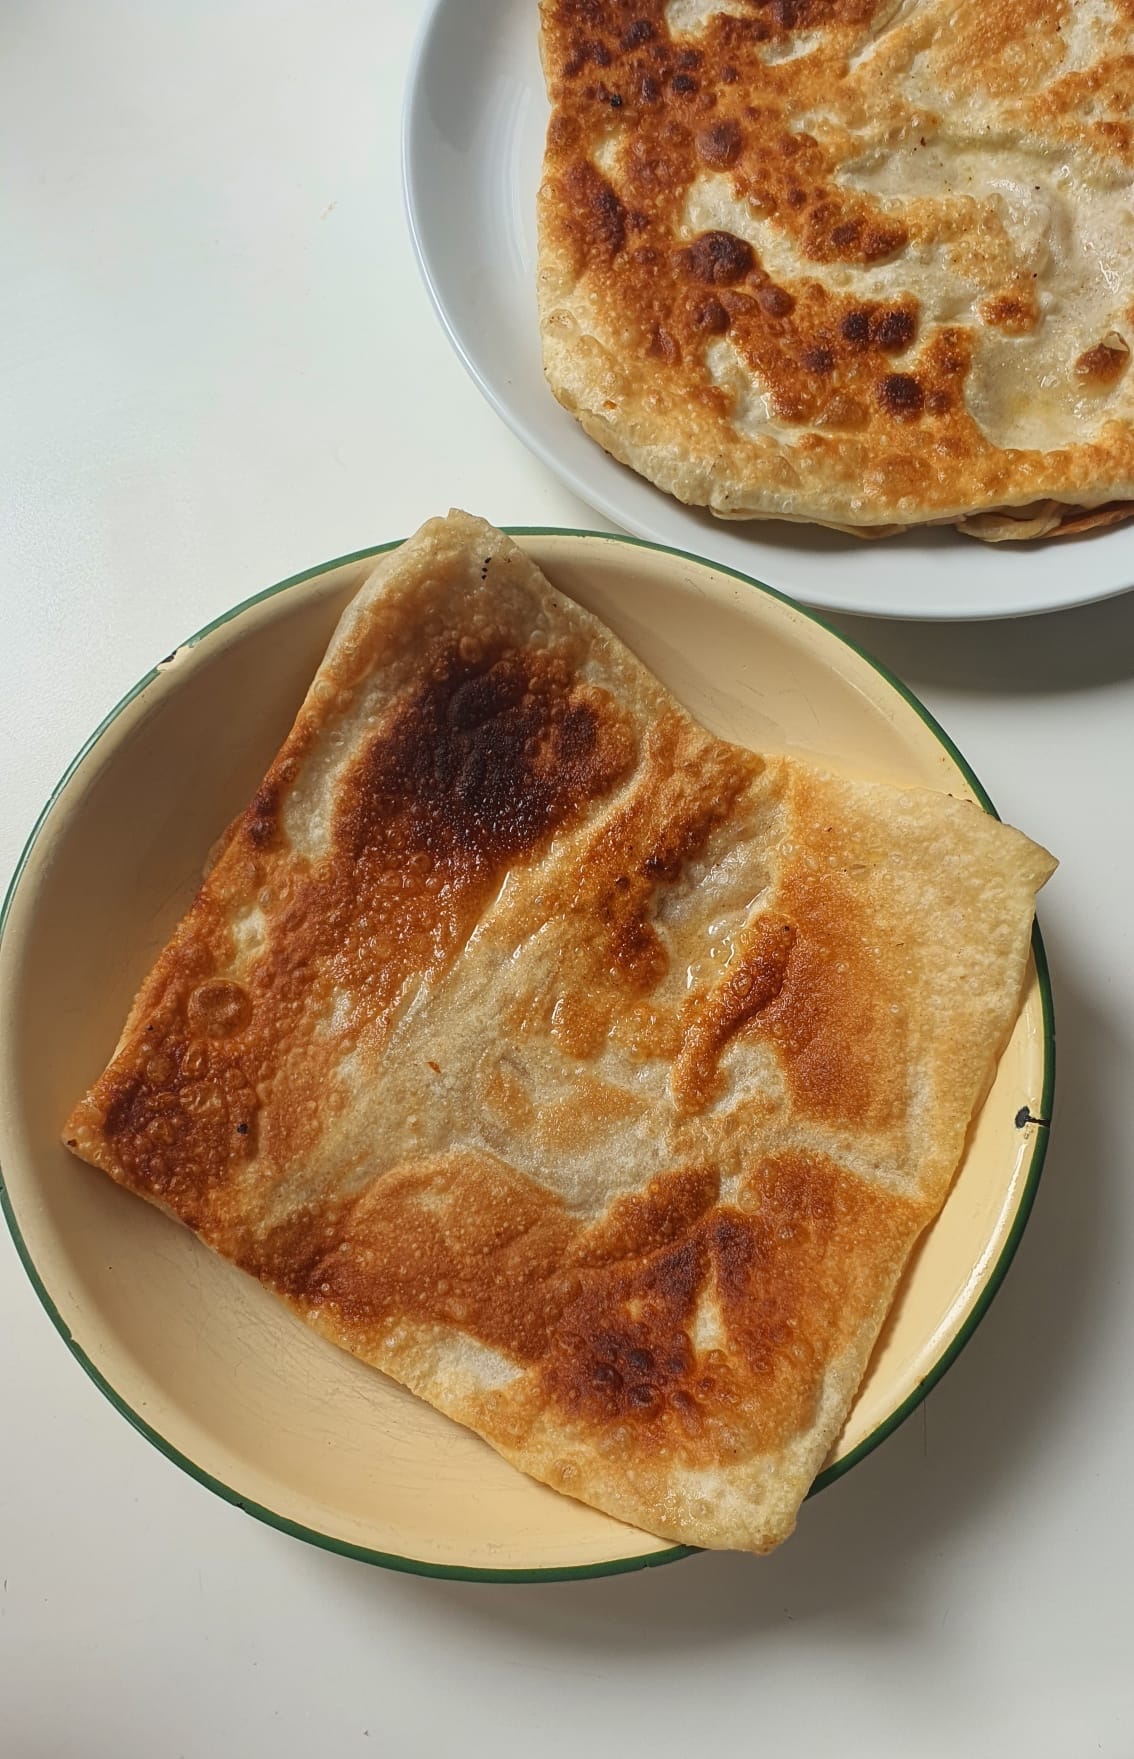
Each stall has its own way of shaping prata. When I lived in Melbourne, the popular style involved pushing the stretched sheet from one end to the other to form a long rope, which is then coiled into a spiral, like a snail’s shell. When flattened, the prata fries up tender and airy in some places, and crisp and flaky in others. Before serving, the prata is pressed between two spatulas in the pan—or clapped between palms on a work surface—until the layers break apart and the cooked roti is fluffed up.


The method that is a little more common in Singapore emphasises a super-crisp, cracker-like shell with fewer layers in between. If you live in Singapore, a good place that specialises in this style of prata is Chindamani Indian Food Stall (I go to the Bishan branch and their prata is photographed at the top of this post!) This shaping style encourages creativity: before folding the prata into an envelope, you could add a beaten egg to form egg prata, banana slices for a sweet variation, or spiced minced meat for murtabak. With both styles of prata, the key is to be generous with the oil in the pan; this produces beautiful blisters and encourages crunch.


Once the dough is made, it keeps in the refrigerator for up to 2 days, so it’s perfect for spontaneous prata breakfasts or curry nights. Leftovers or any extra pratas can be chopped and turned into Sri Lankan kootu… Truly, so versatile.
ROTI PRATA
Makes 4 | VEGAN OPTION