Step-by-step roti prata guide
Anyone can make prata at home!! 💪🏻
In my last email, I shared about the incredible style of prata that I encountered in Melbourne & an accompanying recipe. I made a batch today, so I thought I’d show you step-by-step photos in case my recipe instructions in the last newsletter weren’t clear. I’m going to show you how to achieve really good results without having to flip or use any special equipment like a stand-mixer. The following measurements make five pratas.
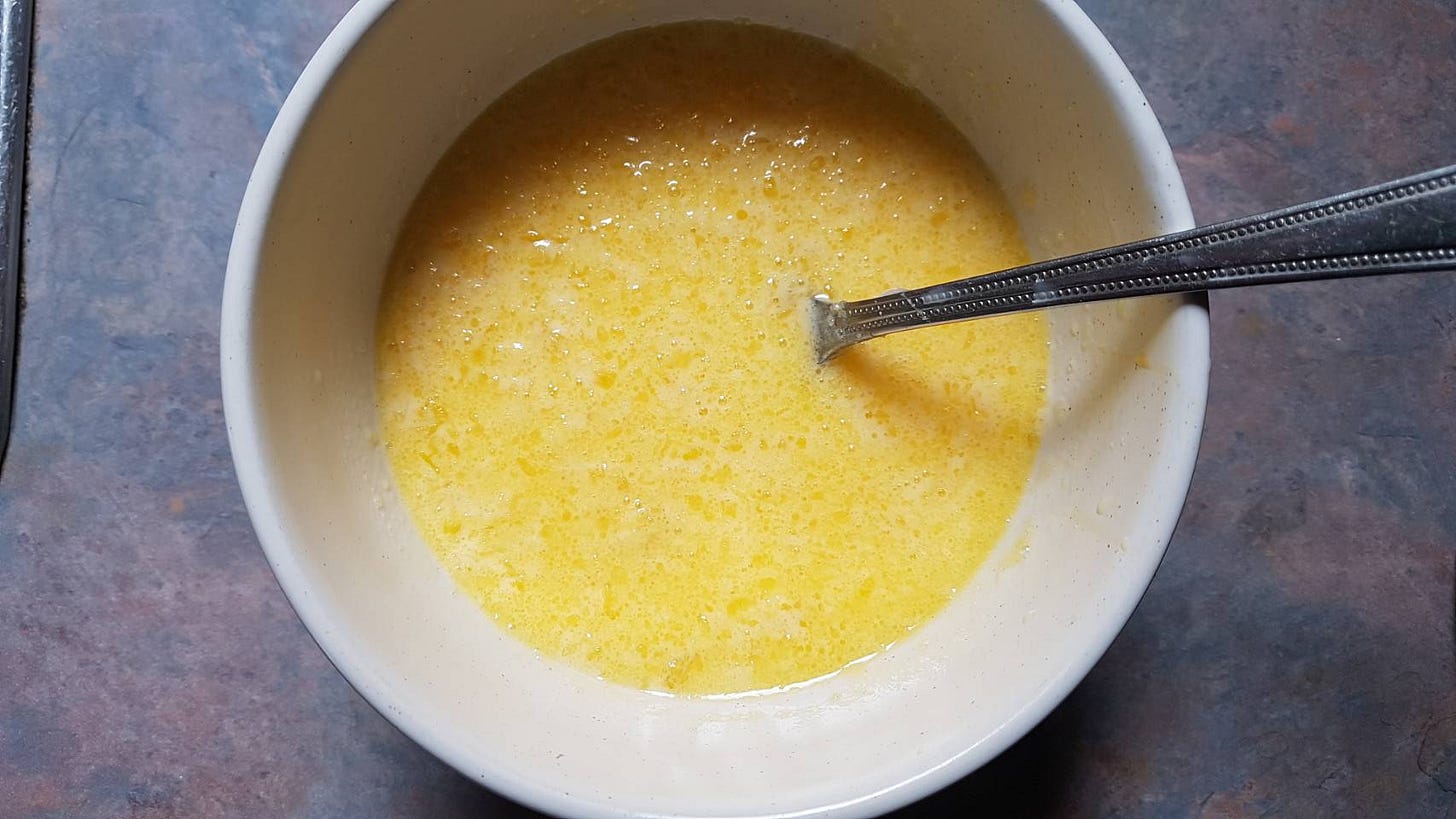
First, you need to prep your wet ingredients. Melt 35g butter in a microwave and add 50g evaporated milk, 15g condensed milk, 30g egg and 85g water. Some recipes don’t call for evaporated milk or condensed milk, but I really love the flavour they impart.
In a large bowl, mix together 290g flour, 10g sugar and 5g salt. A lot of prata recipes, or even regular bread recipes, don’t use enough salt - what you get is something that tastes really flat. It is worth the effort weighing it. Make a well and add your wet ingredients. Combine with a spoon, then knead the clumps together to form a dough.
You’ll get a pretty lumpy dough, it is not going to look super smooth. It also might feel quite sticky. That’s fine - we are not kneading the dough! Now we allow the dough to rest for 20 minutes, covered - this helps the flour hydrate properly. Divide the dough into 5 balls weighing roughly 100g. Oil them well so they don’t stick - use a neutral oil or ghee for this. Please don’t use olive oil - it tastes odd in prata and might burn later during the frying. Allow to rest overnight preferably, but if you’re short on time, 2-3 hours work.
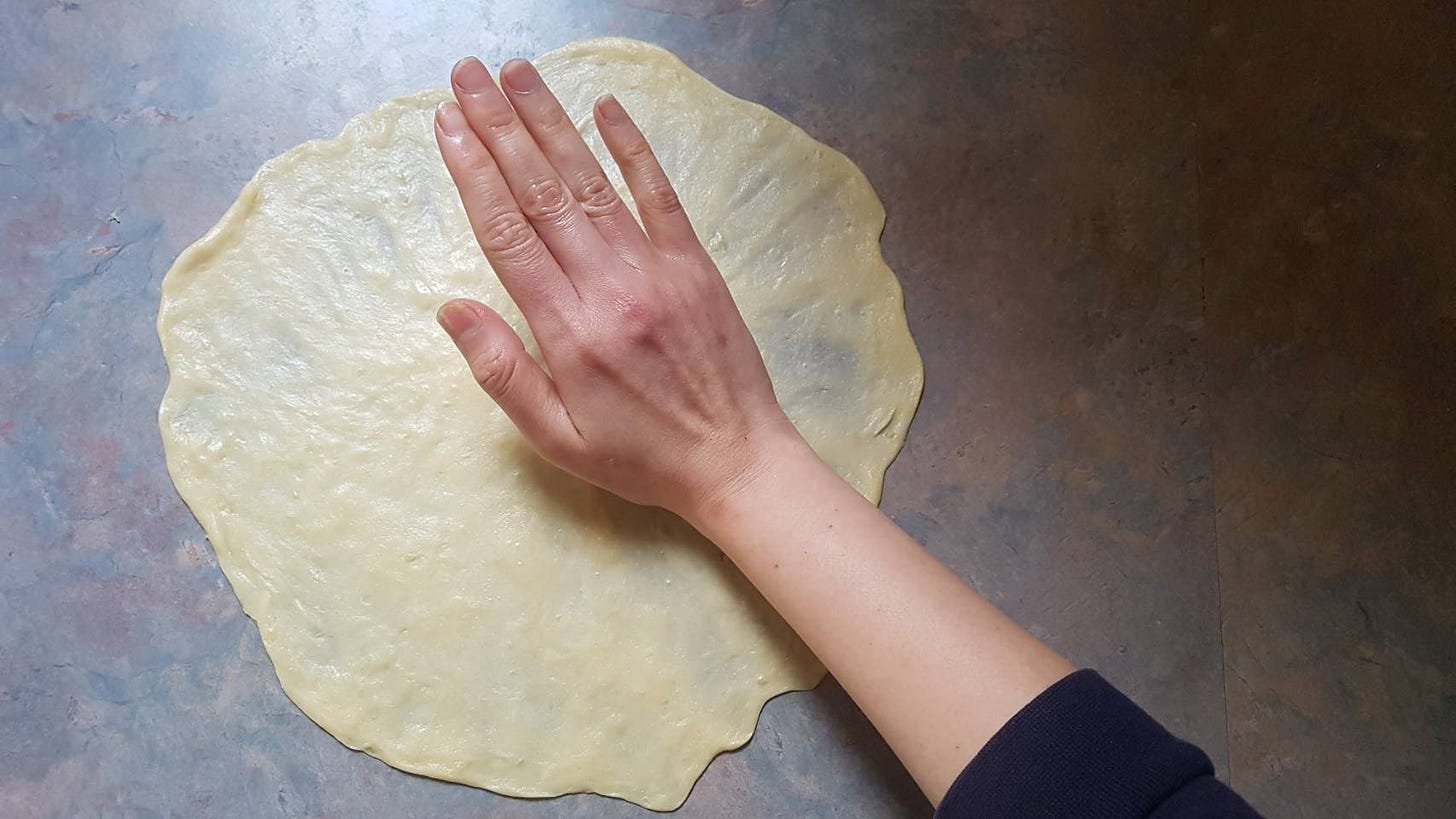
After the long rest, transfer an oiled dough ball onto your work surface. You need lots of space for this. With your fingers, press the dough out into a disk. This shouldn’t be difficult because the dough is nice and relaxed from the rest.
Keep going - you can use the heel of your hand to push the dough out if you like! Be careful not to rip the dough at this stage. What you’re looking for is the dough to start looking translucent.
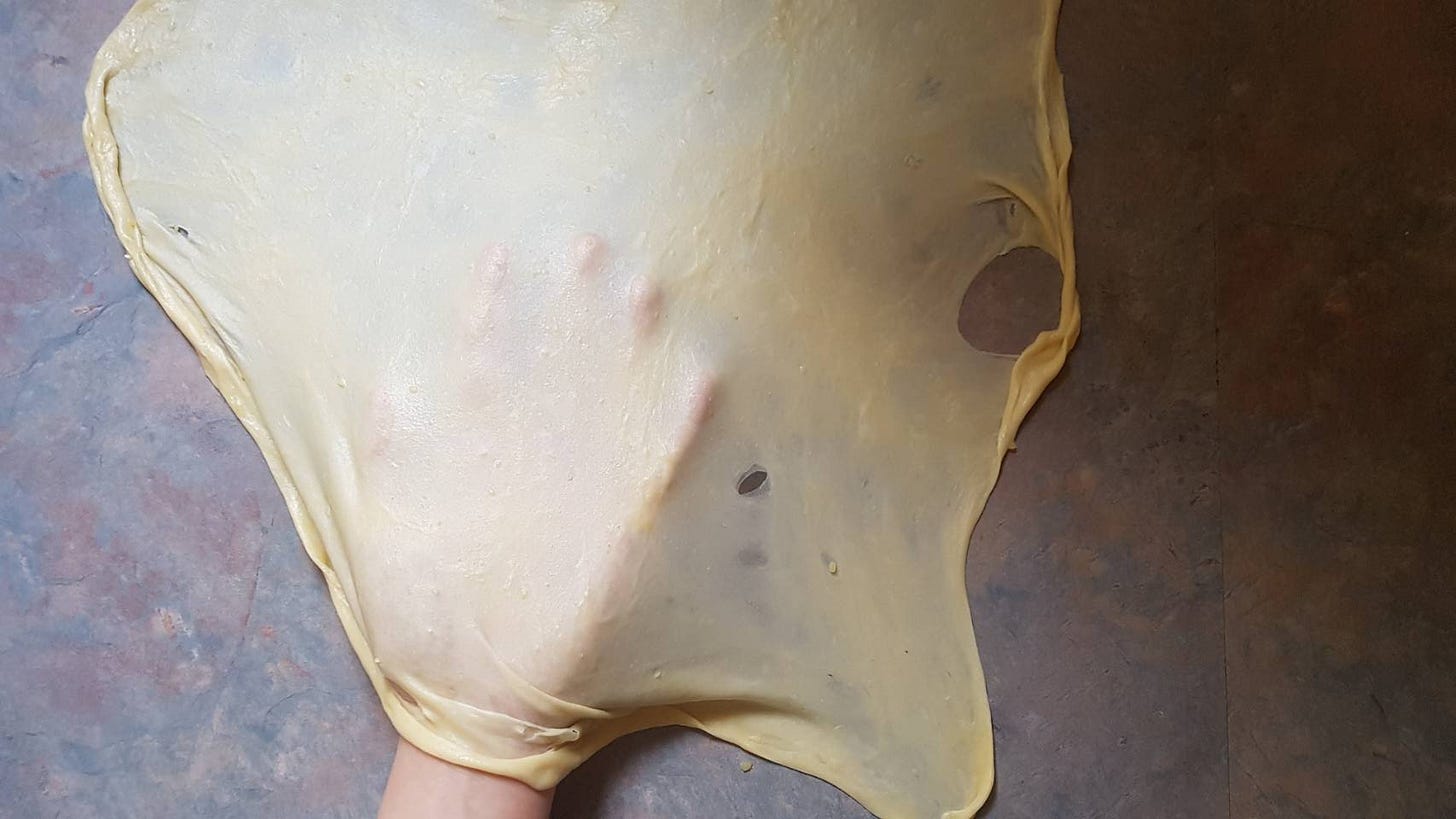
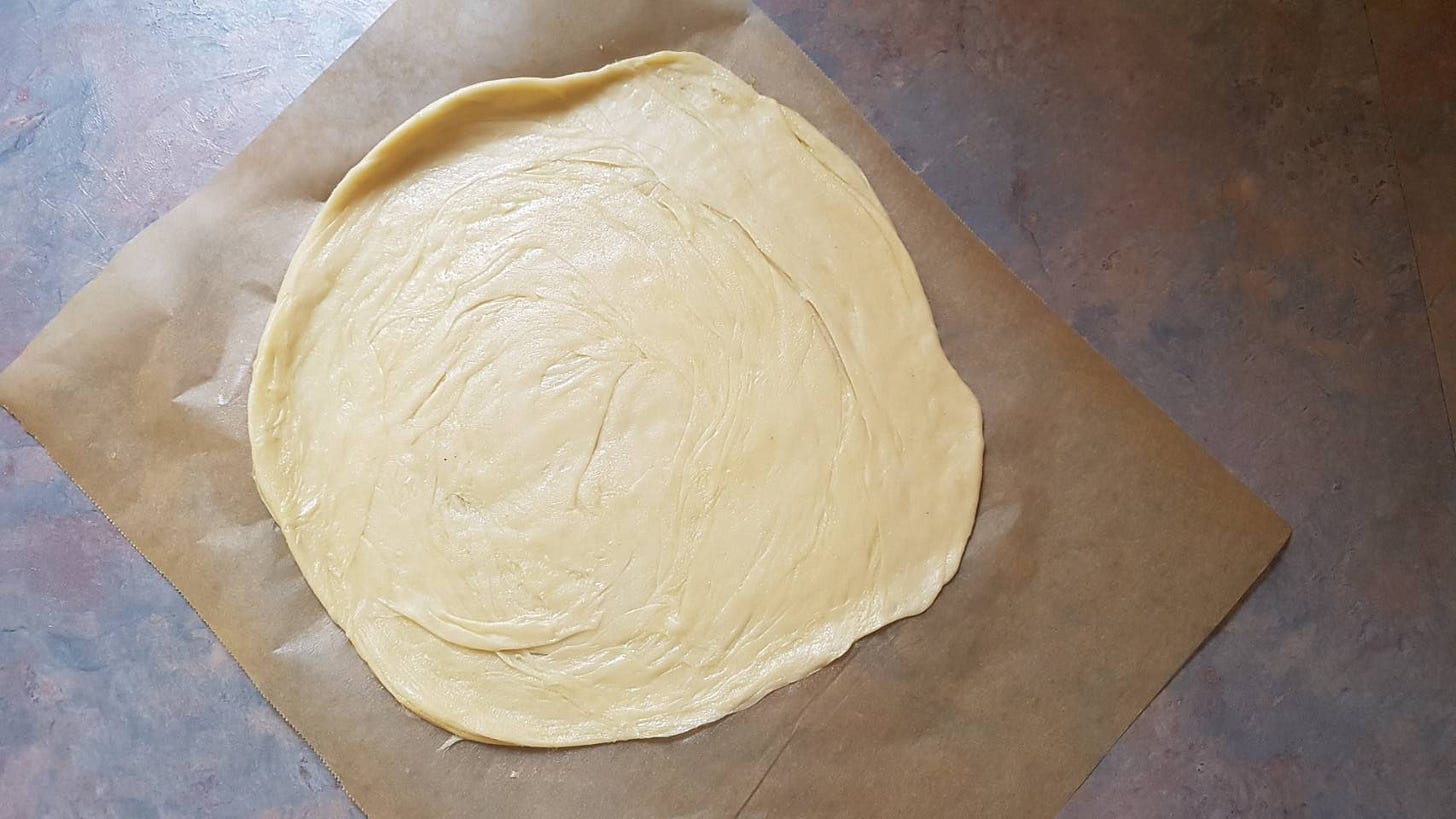
Lift up a corner of the roti and gently stretch it out as thinly as possible, stopping right before the dough rips. Repeat until you can read the papers through the dough.
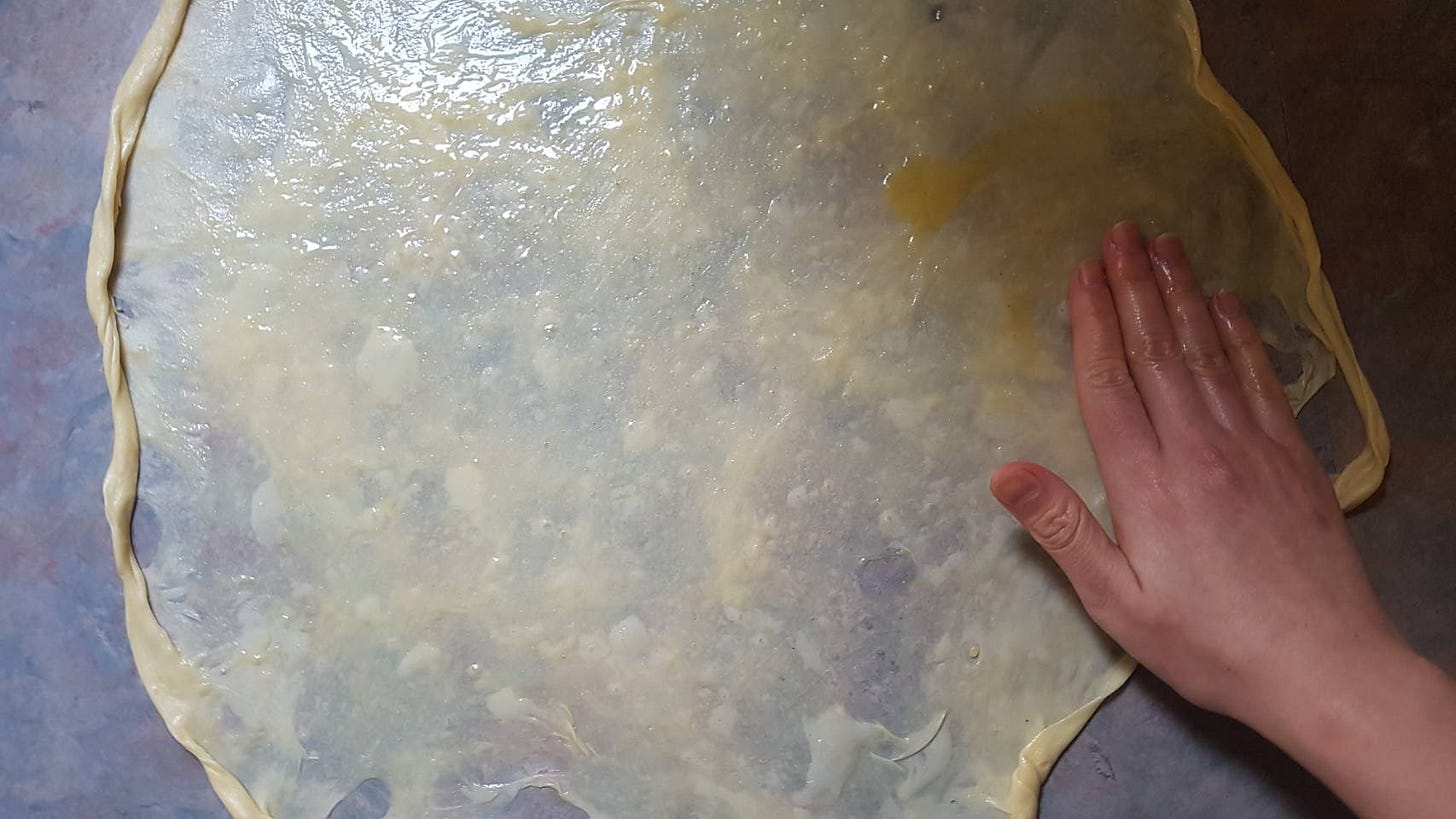
Spoon over some ghee and rub it all over the dough. If you can’t find ghee or don’t have time to make it, you can use regular oil or coconut oil.
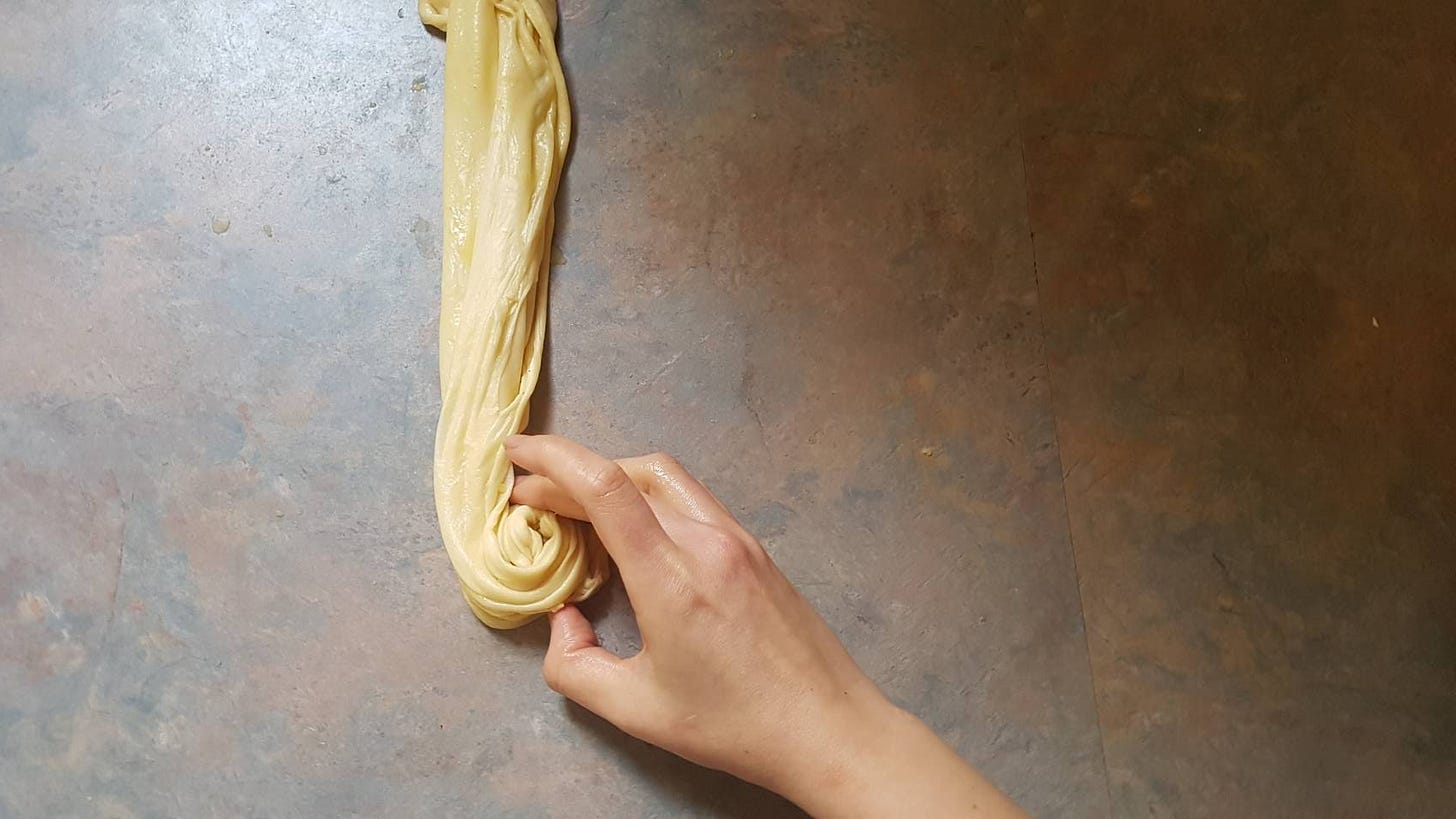
Lift the left side of the dough and drop it over the middle like so:
Repeat the same on the right side and coil the dough up.
Allow the coiled dough to rest for 30 minutes for the gluten to relax.
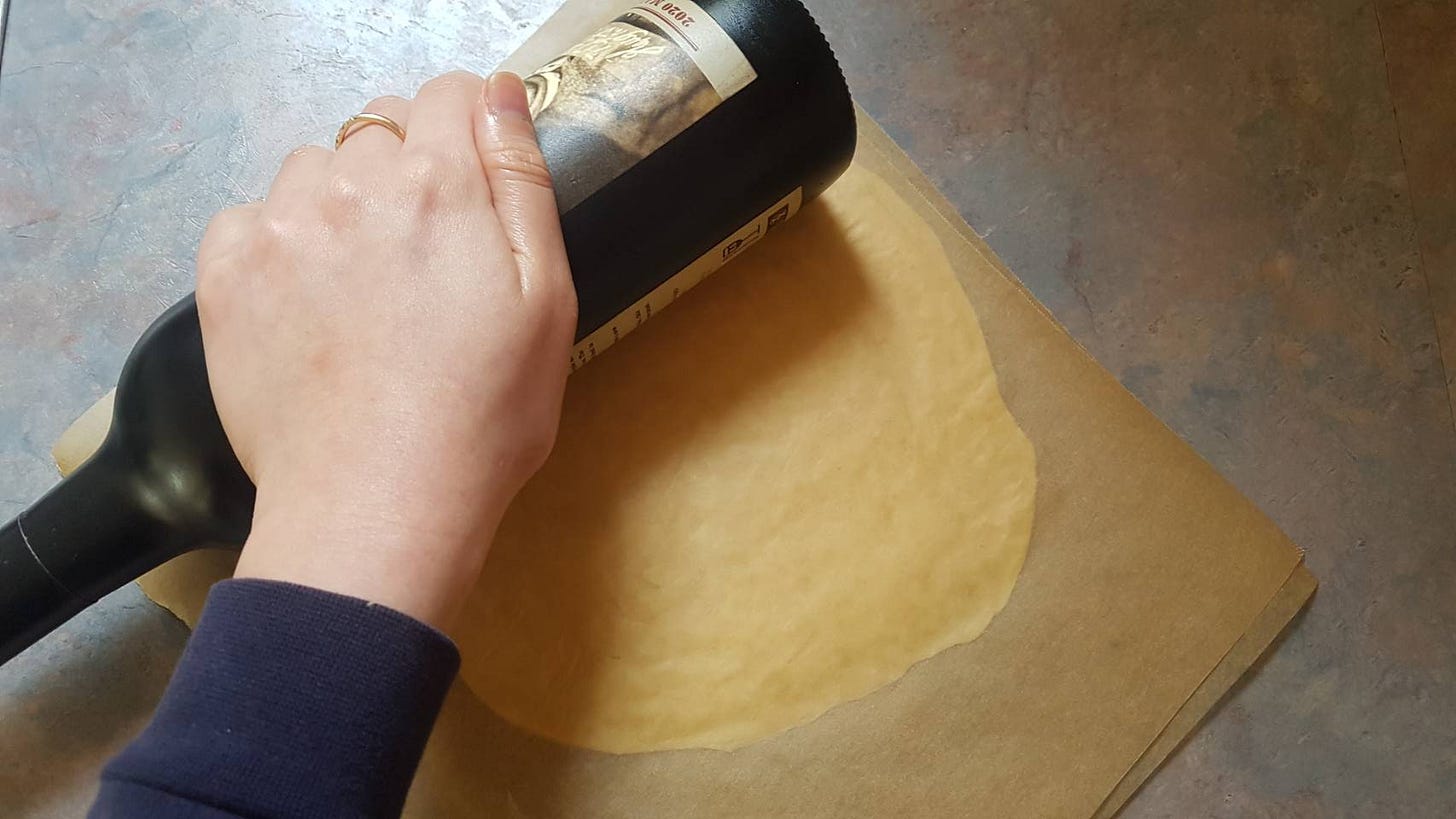
Flatten and roll out between two sheets of parchment. This is super easy and produces great results. If you have no rolling pin (or wine bottle), you can flatten the disk out with the heel of your palm without the parchment. The idea is to get it as thin as possible, about 8” is ideal.
At this point you can freeze your dough disks between sheets of parchment or fry them in ghee until handsomely brown on both sides. (P.S. when using the frozen roti prata, there is no need to thaw or cover with a lid when frying)
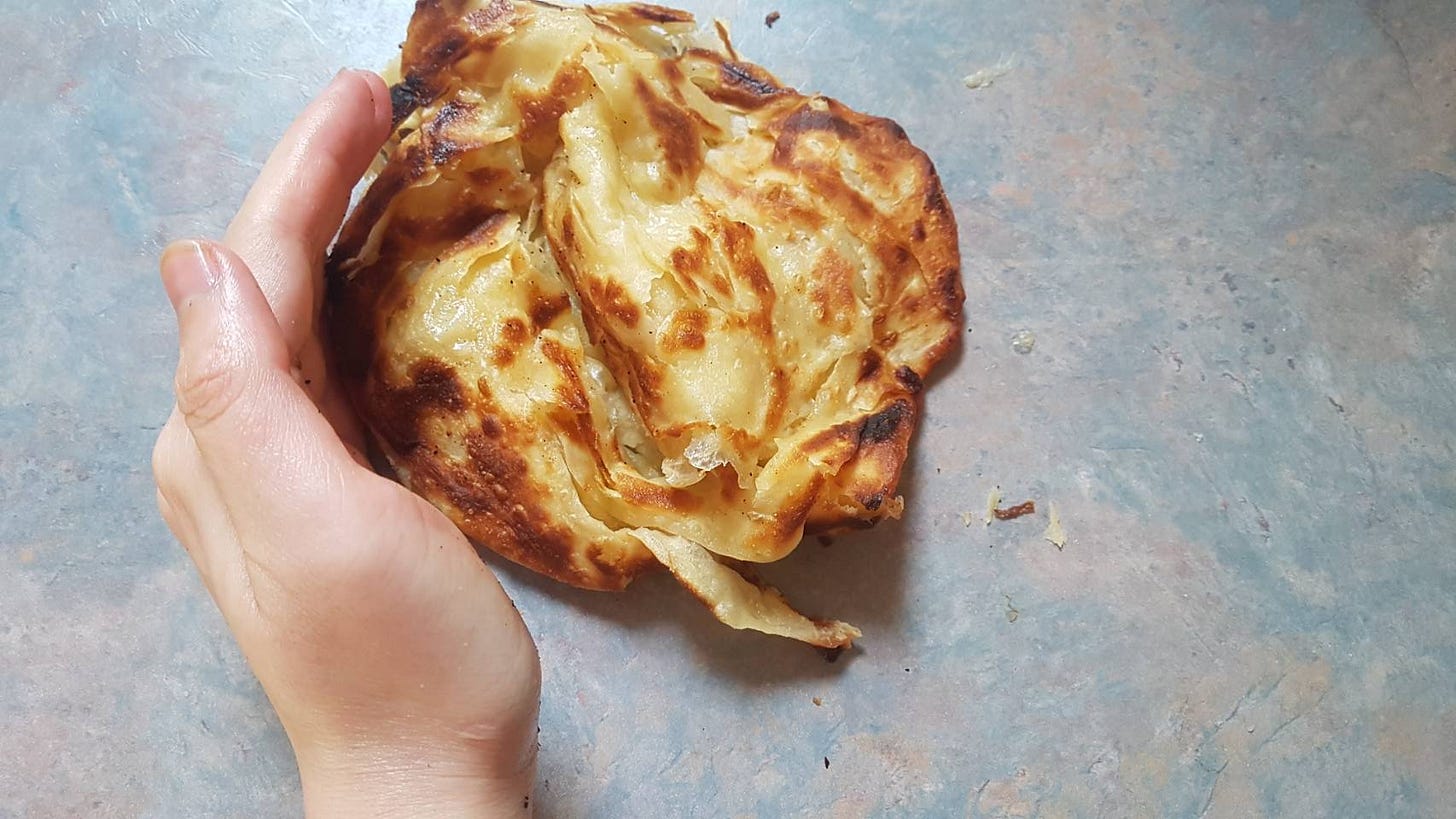
Fresh out of the pan, this style of roti prata almost looks like a Chinese scallion pancake:
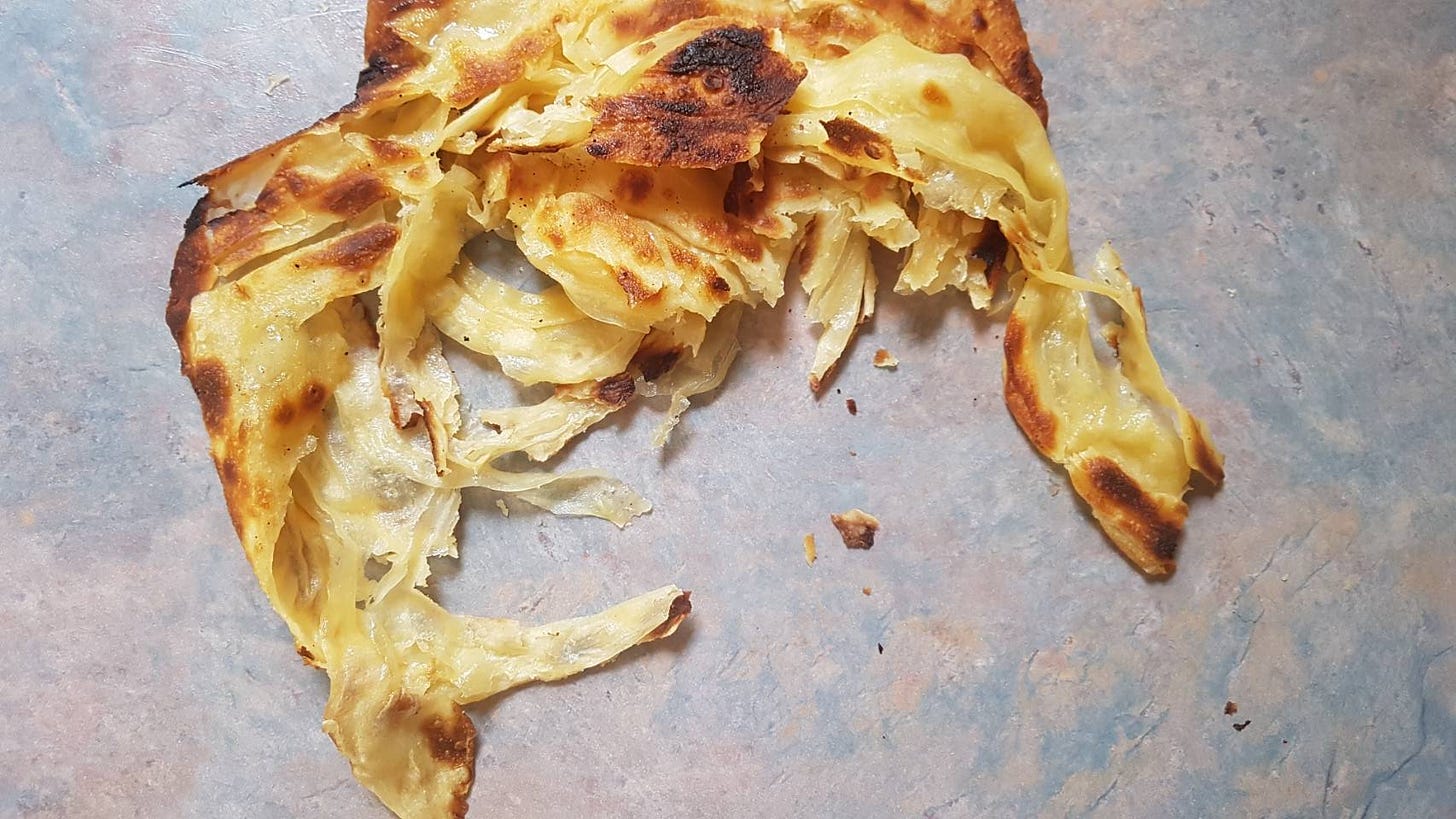
Fluff it up between cupped palms, in a clapping motion, to separate the layers:
So flaky and crunchy with tissue-thin tender layers within. So good.
In case you’re still confused or anything’s unclear, you can refer to this video:
Now go forth and make your pratas - anyone can make really good ones at home without any flipping ability! Show me your pratas on IG if you guys do end up making it 🥰 💪🏻
Murtabak variation
Makes 3 regular sized murtabaks or 6 small murtabaks


