A thosai deep-dive: Part I
I’ve long been intrigued by thosai-making, even dipped my toes in it a few times but never really took the time to explore it more deeply. Vasunthara, who has inspired so many to make these fermented lentil crepes at home during COVID with her no-grind thosai recipe, shares, “While sourdough breads have gained popularity, Asian ferments such as thosai, tempoyak, tapai, red wine lees, and tempeh have not.” It is a shame because, just like sourdough, thosai is naturally fermented - wild yeasts and bacteria, specifically lactobacillus, are what contribute to the leavening of the batter, its flavour, and ease of digestibility.
The key ingredients
Though thosai can be made with other combinations of lentils and grains, black gram and rice have been historically used to make these crepes.
Black gram is what provides the key fermenting power for the batter. It is encouraged to use the freshest lentils and whole black gram if you can source it, as “the bacteria that are responsible for the fermentation decline with age (or may be killed by heat sterilization or excess heat during shipping or storage)”. I used split black gram (urad dal) because that is what I have on hand. When ground, black gram forms a slippery smooth batter that serves as a glue or binding agent that holds the batter together.
Rice provides the starch for the yeasts and bacteria to metabolise. Some recipes add cooked rice, as the process of cooking breaks the starch granules open, giving the yeasts and bacteria a head start. It is best to use leftover, rather than fresh, cooked rice as this allows it to function as a “starter” for the batter. Despite cooked rice enhancing fermentation activity, some proportion of rice in the batter has to be raw as raw rice is what lends thosai its crispness when cooked. Generally speaking, a high proportion of raw rice leads to crispier thosai. While rice flour could be a viable option, the texture of the thosai would be compromised due to the fine texture of commercially milled flours.
Occasionally, recipes call for fenugreek, a spice that adds a maple syrup-like flavour and purportedly aids the fermentation process. I left it out because I could not find it in my local supermarket. Other ingredients such as chana dal and poha are sometimes called for, however, according to Sohla El Waylly, they make “no noticeable difference”, so I omitted them as well. Curious to test the role of the cooked rice in thosai, as well as have some fun with other sources of starch, I prepared four batters:
Raw rice + urad dal
Raw rice + cooked rice + urad dal
Wholegrain spelt flour + urad dal
Wholegrain spelt flour + cooked rice + urad dal
Soaking and grinding the lentils and rice
The urad dal and raw rice are first washed and soaked, allowing them to be ground into batter. A tip that I’ve read is to not overwash or oversoak your dal and rice as it strips the dal of its fermenting ability. Some cooks even skip the rinsing altogether! I gave the urad dal and rice a quick rinse, before soaking in water for 4-5 hours.

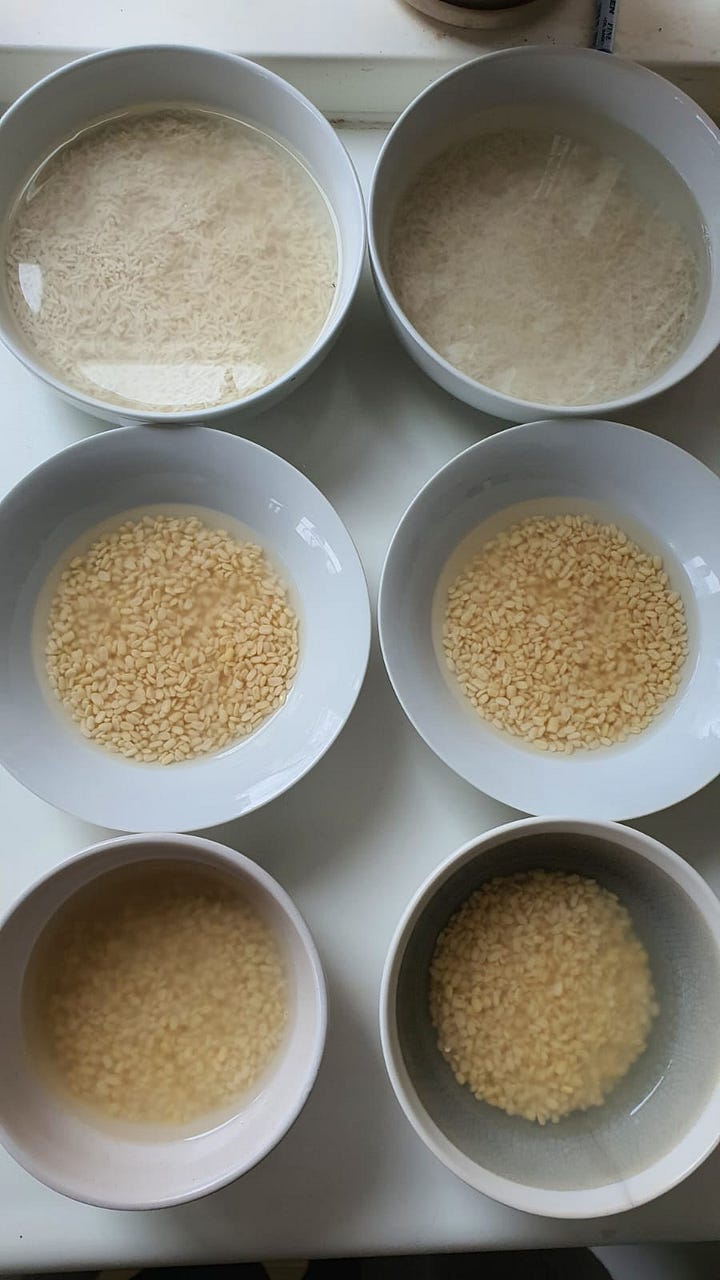
Urad dal and rice are soaked separately for a few reasons:
Once soaked, both the urad dal and the rice begin to ferment. However, since the urad dal ferments at a quicker rate, the dal liquid will be richer in bacteria. This is what we will be saving and using for blending later on. As El Waylly writes, “this early colonization is key and must be cherished, as it will ensure a successful fermentation of the batter later on.”
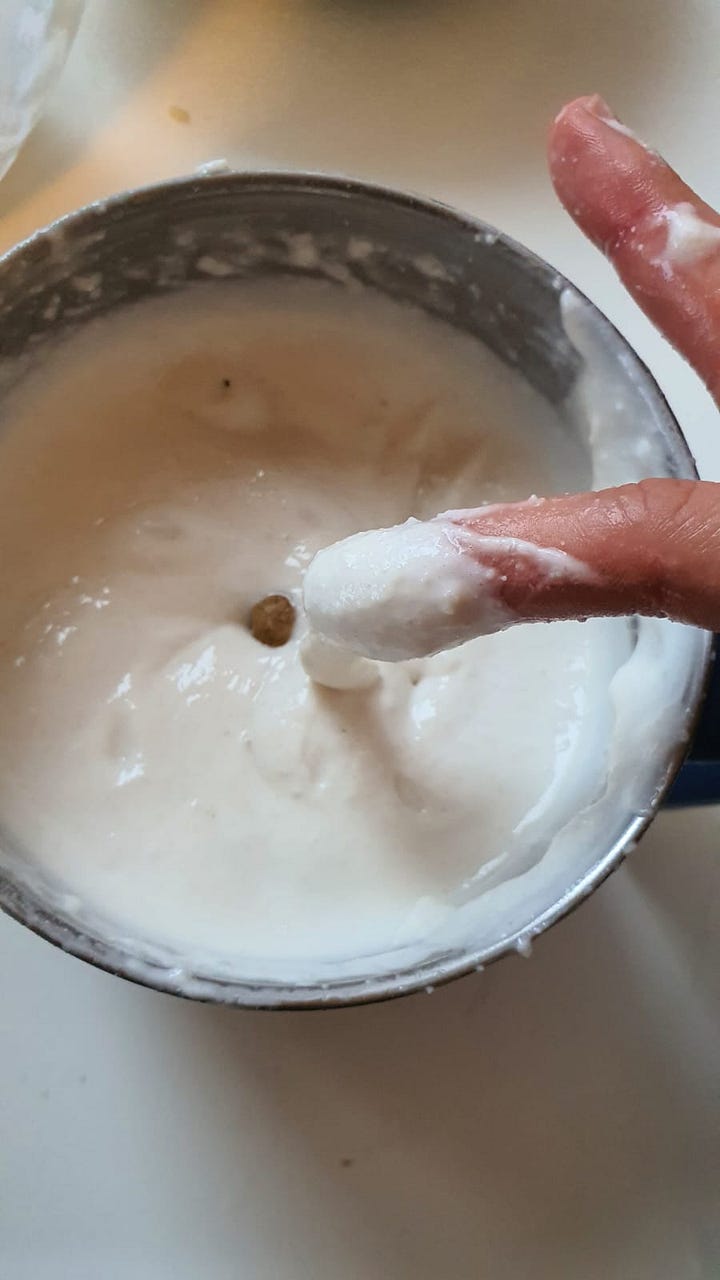
The urad dal has to be ground until it becomes smooth, fluffy, and voluminous, almost like a meringue, while the rice is kept slightly coarser in order to produce a crisp texture in the thosais. I’ve noted that my blender works harder when I grind the urad dal and rice together, compared to when I keep them separate.
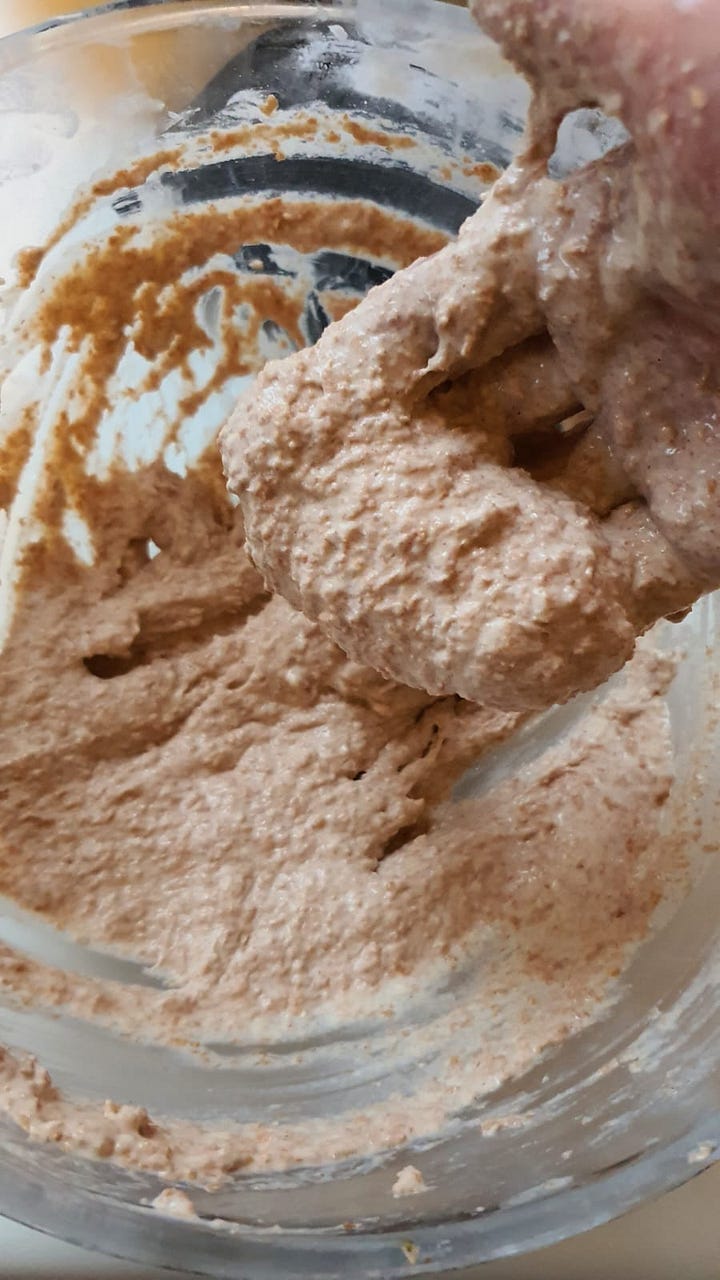
Once ground, the two batters are mixed by hand. According to some, this allows for the natural yeasts on clean hands to populate the batter. But my guess is that the reasons are more personal and sentimental. Devagi Sanmugam writes on her IG:
For the Tamils, thosai making is a culinary tradition that has been passed down through generations. The process of beating thosai batter by hand is not only deeply rooted in this tradition but it is also a cultural practice that connects people to their culinary roots and helps preserve the traditional way of making thosais.
Fermentation
The optimum temperature for lactobacilli growth is reported to be between 30-40°C - Singapore’s weather is perfection. But here in the Netherlands, we’ve just entered into winter and subzero territory. To work around this, I filled the multi-tiered Chinese steamer that I own with boiling water. I then placed the batters in the steamer and allowed them to sit in this warm and humid environment. According to Vasunthara, the thicker the batter, the better the fermentation. I botched the first batter (left most) when I misjudged the amount of liquid for grinding, but learnt from my mistake and kept the rest of the batters thick:

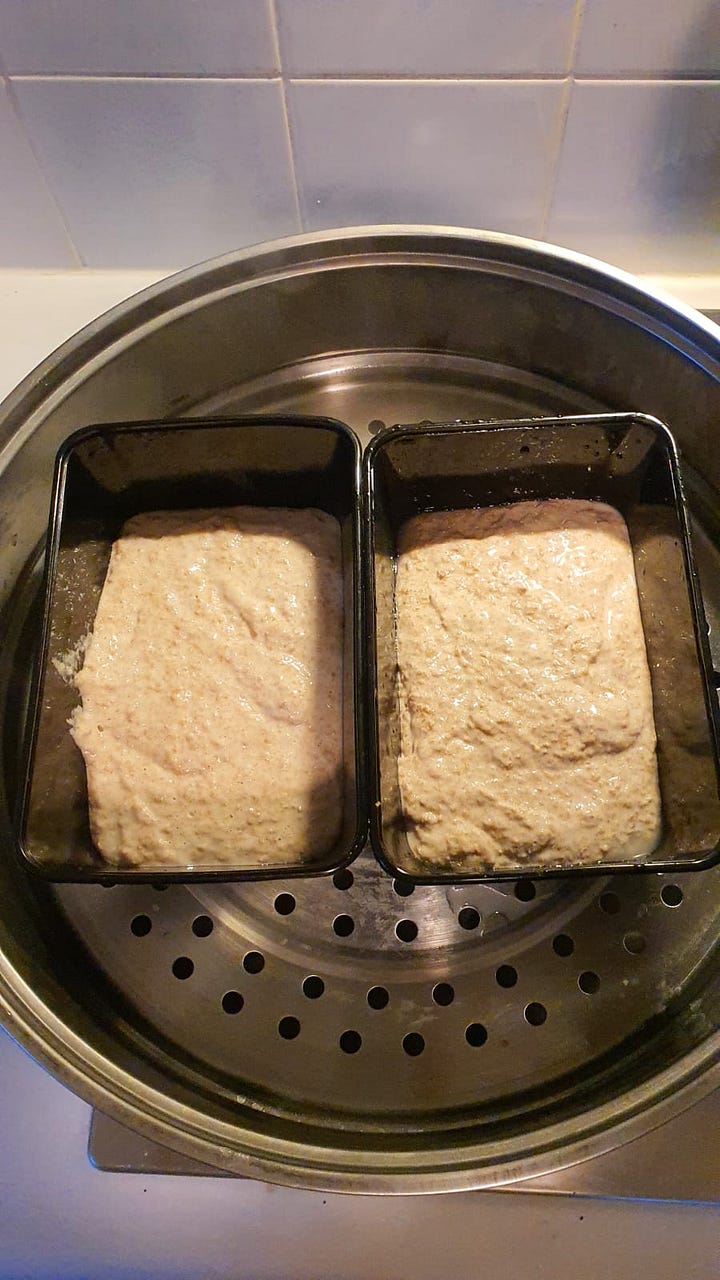
Vasunthara describes the desired result as being doubled, having a “cracked, puffy” surface, and tasting “mildly sour”. After 16 hours, some bubbles had appeared on the surface but none of the batters had doubled or developed even the slightest tang. Before denouncing my attempts failures, I decided to add some dried yeast to the batters. At first, it seemed like a travesty. But then, it made complete sense. Instead of guessing and waiting for the wild yeasts to populate my batters in this frigid weather, which may or may not happen, why not use yeast? While yeasted bread differs from sourdough loaves, no one would consider yeasted bread a mistake. I stirred a tiny amount of yeast into all my batters and waited. Sure enough, after a few hours, the yeast reliably did its magic and the batters rose and jiggled in their containers.
Frying
All that was left to do was to fry the thosais, which is probably the most technical part of the whole process. I use a large cast-iron pan, which works perfectly. Some cooks suggest dipping a raw onion in oil and rubbing it all over the pan to grease it, to prevent the thosai from sticking to the pan when done. This makes a lot of sense, since one way to season a wok is to stir-fry a whole, sliced onion. However, when I gave it a go, it made no difference. I simply grease my pan with oil and sponge off any excess with a piece of kitchen paper - a thin layer is all you need.
While the pan heated up, I thinned my batter down to the consistency of a thick milkshake. All four batters performed well when fried, with the wholegrain spelt flour posing some difficulty in the spreading due to the presence of gluten - I’ve made thosai with wholegrain millet, which is gluten-free, and it was easier to spread. Other than that, I was happy with the results:

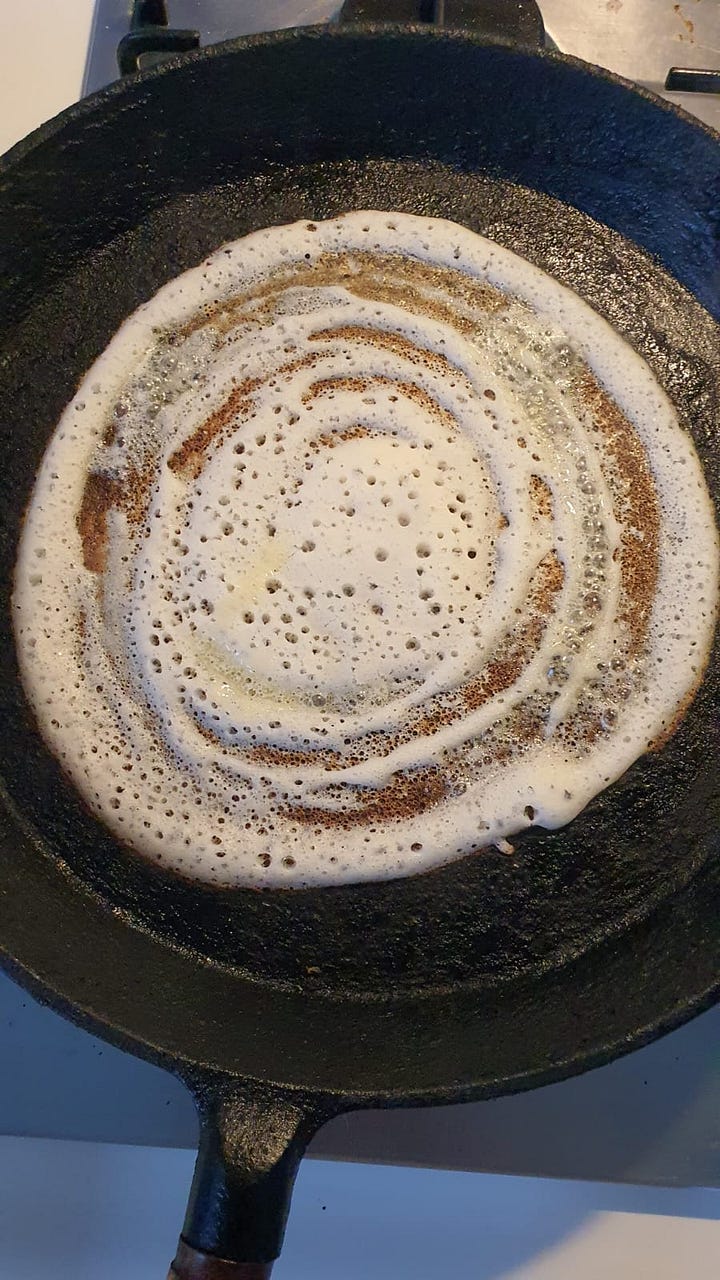
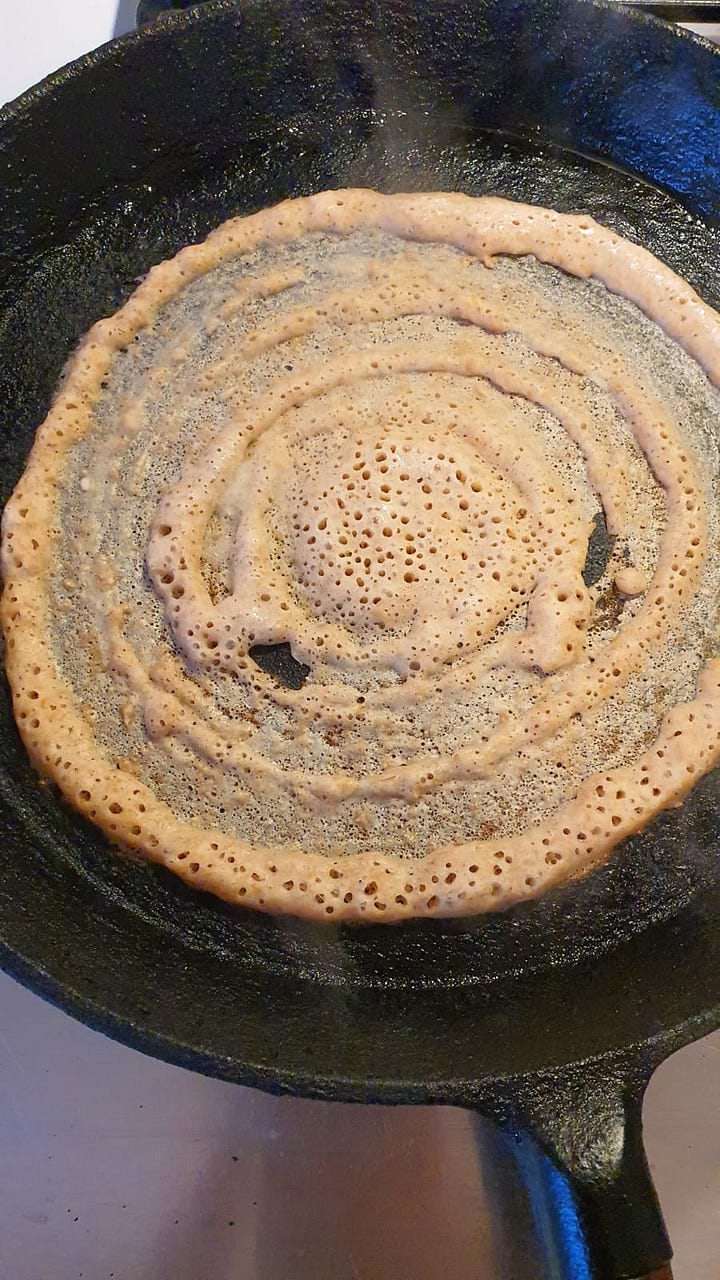
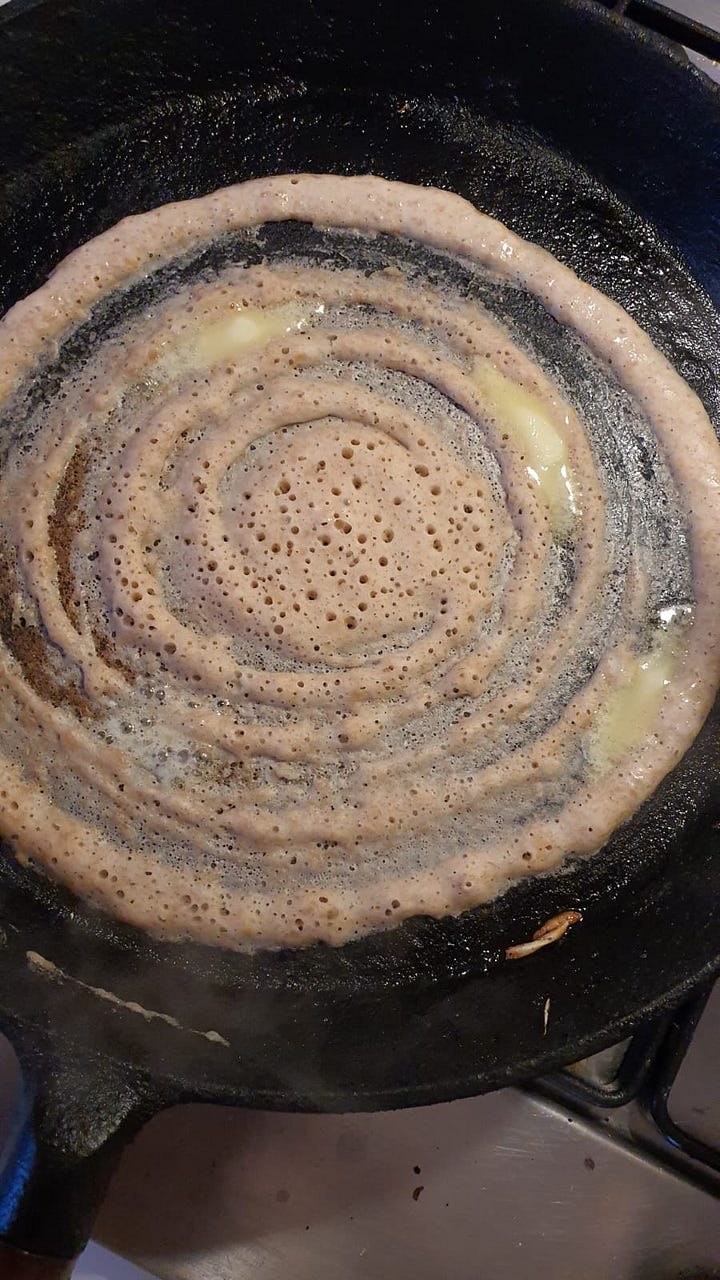
Comparisons of the four batters
All four batters produced thosai that were decently crisp, with spongy middles that were perfect for soaking up curries and other gravies. Here are some tasting notes:
Raw rice + urad dal - Pleasant flavour, lightly tangy at the end. Pale exterior.
Raw rice + cooked rice + urad dal - Similar to batter 1, but with a rounded sweetness at the end.
Wholegrain spelt flour + urad dal - The flavour of this was a cross between a well-fried hashbrown and wholegrain bread.
Wholegrain spelt flour + cooked rice + urad dal - Like batter 2, the cooked rice seemed to provide a subtle sweetness that rounded out the flavours.
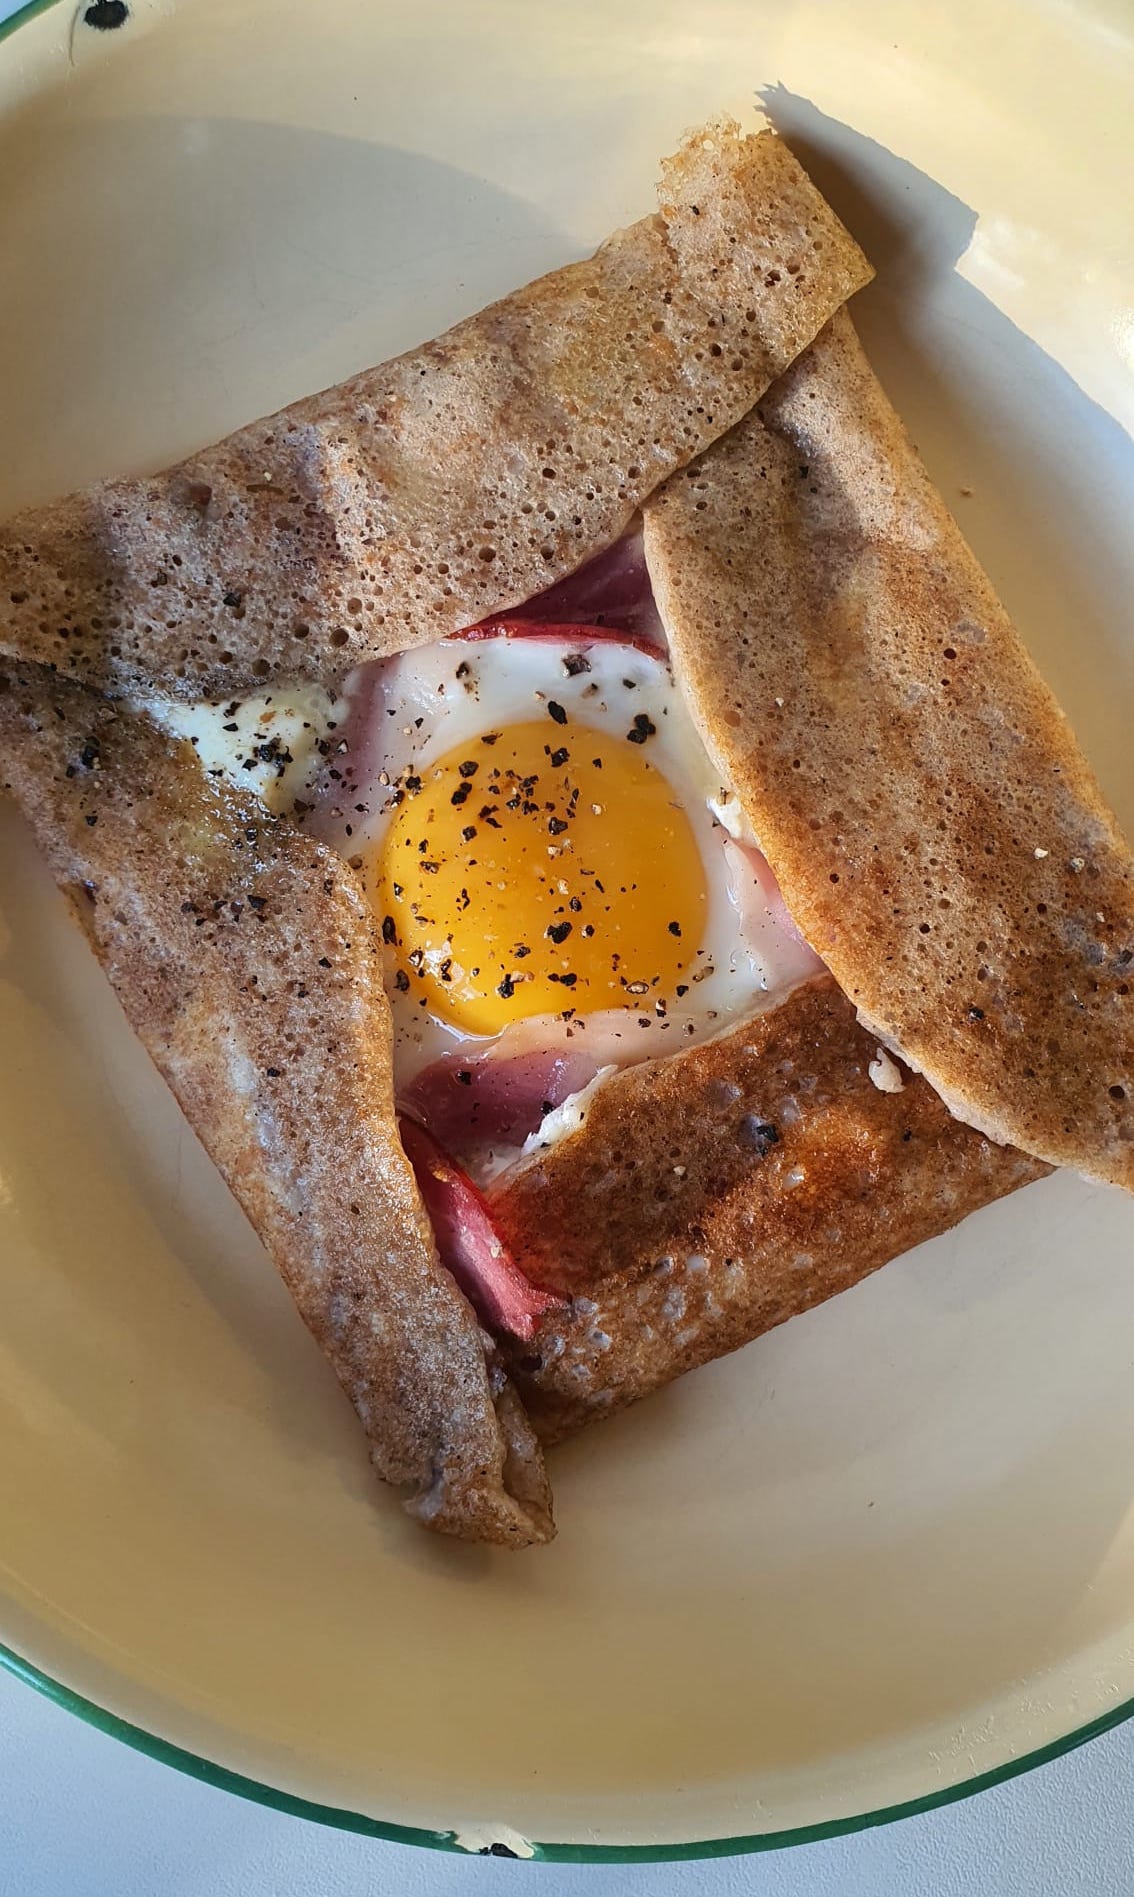
The batters made with cooked rice were my favourites - they seemed to brown better and had flavours that were more nuanced. And I’m pleased that I can now have thosai whenever I want, whatever the weather. A pictorial guide & recipe to come for paid subscribers! In the meantime, here’s a photo of what we’ve been eating the past few mornings for breakfast 🌞


