Welcome to Part II of our pineapple tart deep-dive series! If you’ve not read the previous newsletter, you can click on the link below:
Part I: Taiwanese pineapple cakes vs Southeast Asian pineapple tarts
Part II: Pineapple jam
Part III: Pineapple tart pastry
Part IV: Baking tips and the recipe
Today, we’ll be talking about all things pineapple jam - canned vs fresh, how to prep the pineapples, and what to look out for at every stage.
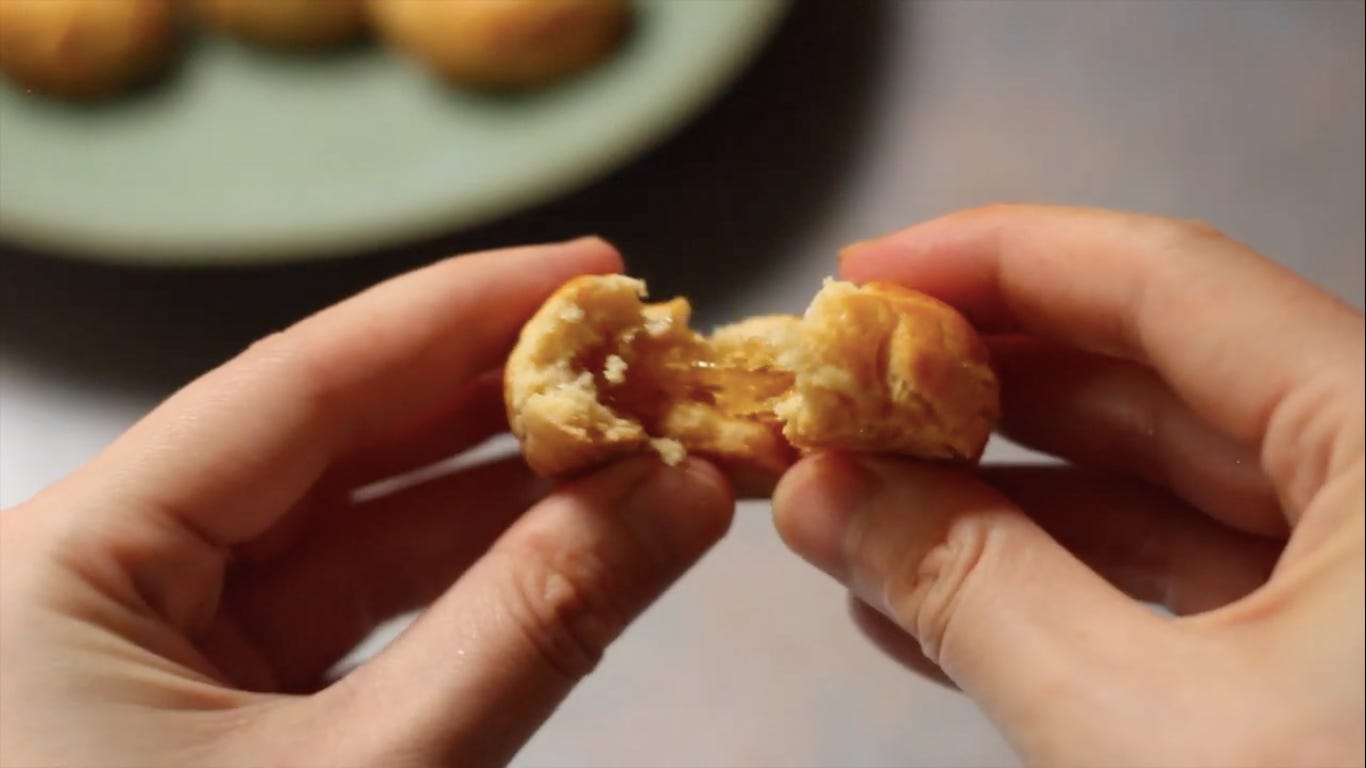
But first, here’s why you should make pineapple tarts completely from scratch (even if it’s a small batch for personal consumption) at home this year. My second Chinese New Year in Melbourne, I made Christopher Tan’s pineapple tarts from The Way of Kueh. It was my first attempt at pineapple tarts, and it wasn’t perfect (all to do with my lack of experience), but the moment I tasted one, I swear it was like one of those cliche clouds-parting kind of moments.
First of all, it had so much TEXTURE. The jam was fibrous in the best way - usually fibrous is a negative descriptor, but in this case, it provided a pleasant chewiness and bite. And then you get the delicate pastry that is so tender and crumbly, nothing like the sturdy shortbread-like pastry of most commercial pineapple tarts. The spices and pandan completely transformed the eating experience (there are usually just three ingredients - pineapple, sugar, and salt - in commercial pineapple jam).
After that attempt, I have made pineapple tarts every year, and not just during Chinese New Year, simply because we can’t get enough of it.
Selecting pineapples - As with all desserts made from vegetables/ fruits, no two batches of pineapple jam will taste exactly the same. Some pineapples are sweeter, others more tangy - each yielding a different result. Thus, when you read pineapple tart recipes, you might encounter a whole range of sugar percentages, most likely because the recipes are tested with different types of pineapples.
Seasoned pineapple tart cooks might eat a little of the pineapple to gauge the sweetness of the fruit, before deciding how much sugar to add. But for me, I like to start the jam with a lower amount of sugar, and add more at the end if needed (more on this later). After a few rounds of making pineapple tarts, you’ll get a better understanding of the kind of pineapples you like using. Where I live, I don’t often have the luxury of choice, but my favourite pineapple to use is sweet with a slight tanginess. I don’t recommend using tinned pineapples.
Another factor to note is that the juiciness of the pineapples will impact the yield of your jam. The juicier the pineapple, the lower the yield. This does not impact the cooking process much, but it is just something to bear in mind if you’re making pineapple tarts for gifting/ a crowd.
Prepping the pineapple - The skin, core, and eyes of the pineapples are typically removed. Some people use the core, but I find the core very hard, fibrous, and causes the insides of your mouth to itch. The pineapple eyes are also removed because they have a spiky and rough mouthfeel.
The best pineapple jams feature pineapples that are shredded with a grater, producing long fibers in the jam. For me, I have neither a suitable grater for the job nor the patience for it, so I pulse the pineapple flesh coarsely in my blender and strain the juice (I don’t discard the juice, see Stage 1 below), before hand chopping the pulp.
Stage 1 of cooking - The first stage of the cooking process involves simmering the pineapple pulp to evaporate excess water and reduce the pineapple from a watery mass to a fibrous pulp. This is the longest stage of cooking and, to expedite the process, some people would squeeze out excess juice from the grated pineapples with a muslin cloth or sieve. There are two approaches here:
1 - Discard/ drink the excess juice
2 - Reduce the juice down rapidly before adding to the pulp
I do neither because discarding excess juice is a waste, and the whole process of straining the juice, reducing it down, then cooking it again with the pulp is more work and more dirty equipment, though it might save time.
I like to set my pineapple pulp (juice and all) in a wok if I am cooking a big batch as its large surface area quickens the process. If I am making a small batch, I opt for a pot instead, because too large a surface area can get risky when the jam starts caramelizing. Still, make sure that the pot is not too small and that there’s a good amount of space, because foam from the pineapple pulp will rise like a head of beer as it comes to a boil.
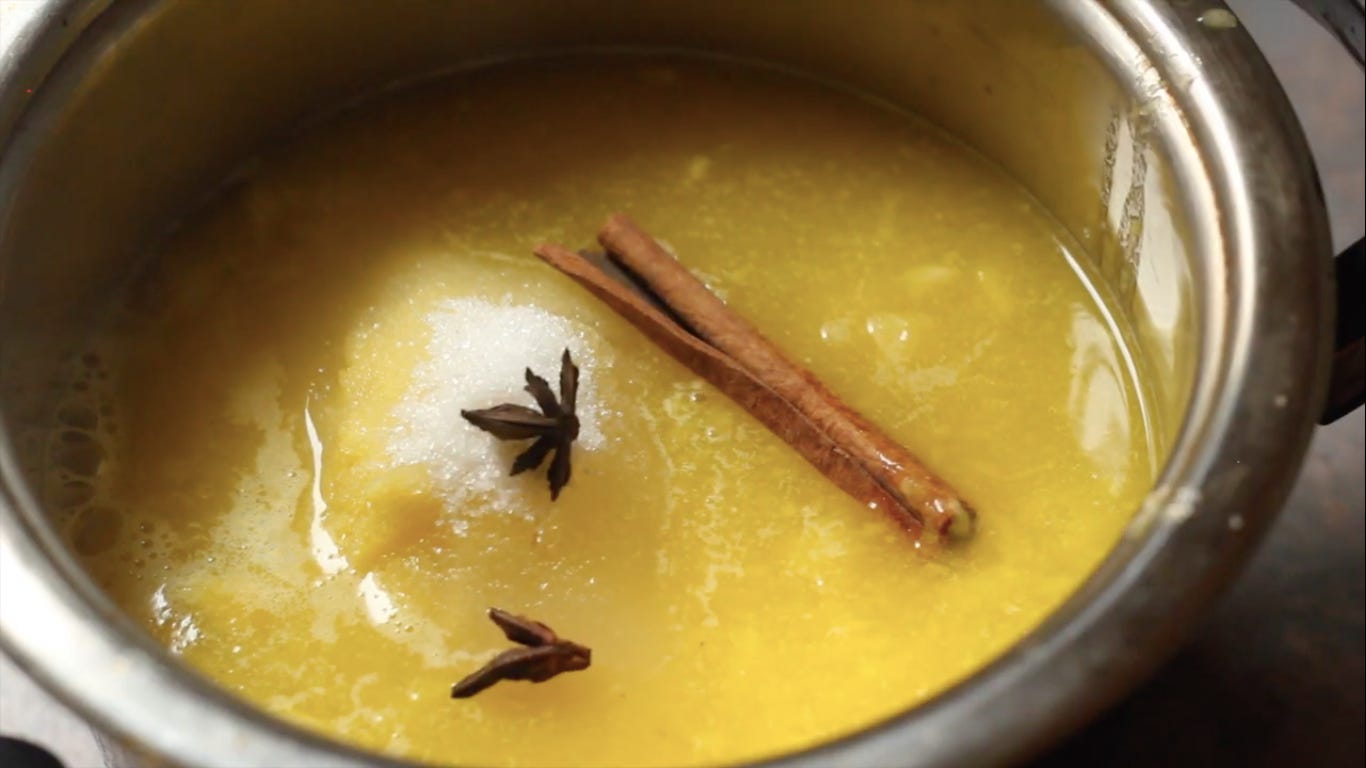
To the pineapple pulp, you add spices, pandan (if desired), and sugar. Here are your options for the sweetener:
- White sugar - my sugar of choice
- Palm sugar - more flavourful, but the dark colour prevents you from assessing the extent of caramelization
- Maltose - denser, chewy jam
Some people also add lemon juice, but I find the flavour distracting.
I let it cook on fairly high heat, leisurely giving it a stir as and when I remember to - you won’t have to worry about it burning at this stage. This will take 1 hour of mostly hands-off work.
Stage 2 of cooking - When most of the liquid has boiled away, the paste will look fibrous and start making spitting noises. This is a sign for you to watch and stir it more attentively. I turn the heat down at this stage to reduce the spitting. Remove the pandan (if using) because it can fray if you stir it around in the thick paste. This is the most hazardous part of the process so you want to be careful to not get burnt by the bubbling jam. Soon, it will stop spitting and will thicken to a point where you are able to see the base of the pot when you stir the jam. The jam will also make a sizzling sound as you stir it about the pot, and move in a mass.
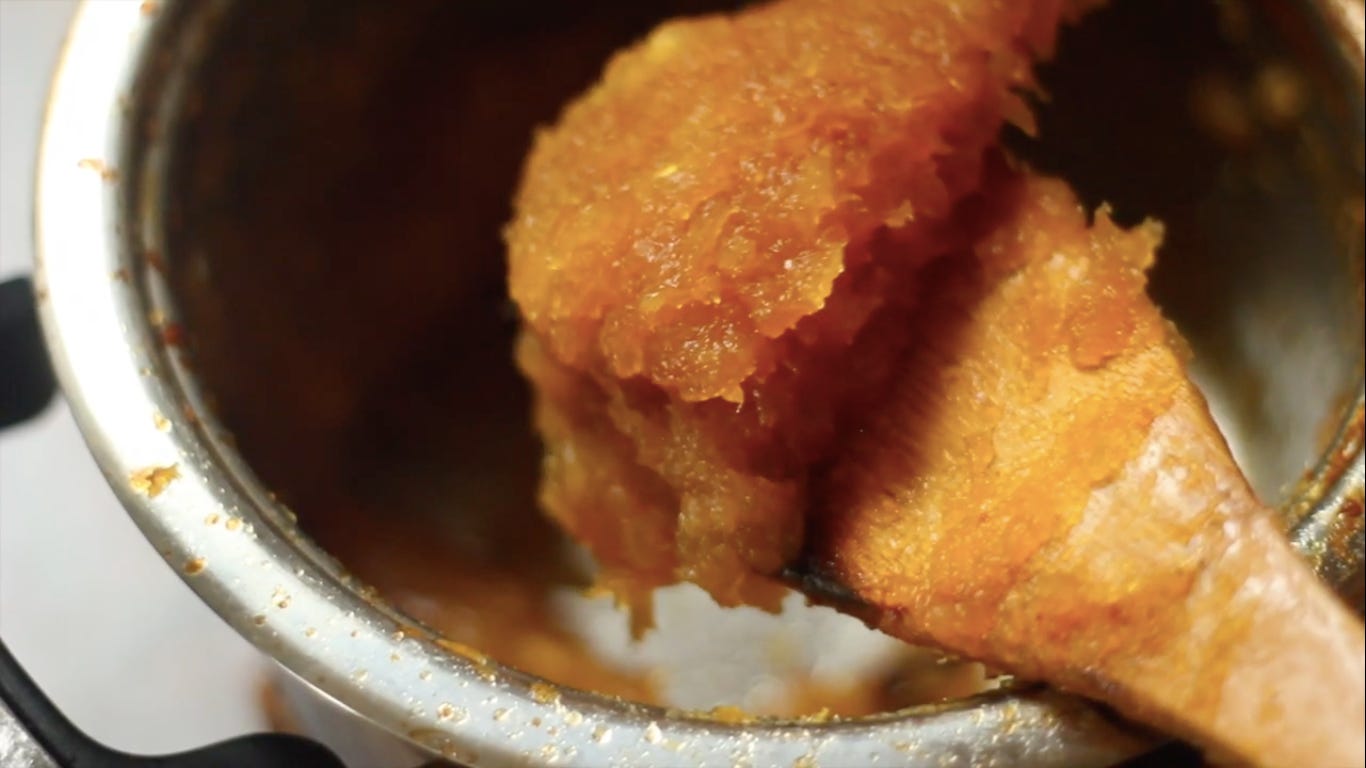
Stage 3 of cooking: Jam for pineapple tarts is technically not your typical jam - it is far more compact. I like to think of it as a caramelized jam. When you start seeing the base of the pot, this is when you can crank the heat up and introduce some colour, constantly stirring. You want the jam to catch on the sides and base and turn golden brown, so that as you stir it into the rest of the jam, the whole mixture deepens in colour.
If you over-caramelize the jam, it will stick to your teeth like caramel. But if you under-caramelize the jam, it will be too soft to shape into nice spherical balls, and slump sadly when you bake it. What you’re looking for is a beautifully golden, slightly reddish jam that holds its shape. I find colour to be a good indicator for when it is ready. If you use brown sugar or palm sugar, you will find it hard to assess when to stop cooking. For open-faced tarts, it can be slightly moist, but for closed tarts, you want to be on the stiffer side. Taste the jam, and add a little more sugar if necessary while the jam is hot.
When the jam has cooled down, and when you shape it into balls, it should barely stick to your hands and have a beautiful translucent shine to it.
In the next newsletter, we’ll be going over what makes delicate, crumbly pineapple tart pastry. The full recipe will only be available via this newsletter next Tuesday, but if you’re a member, it is already up on the website if you want to start making some pineapple tarts this week :-)
Subscribing to be a member of Singapore Noodles costs just S$8 (less if you go for the annual plan) and you get loads of extra content + get to support the platform, so click here to check it out. Otherwise, I hope you enjoyed this newsletter, and I’ll see you in the next one! 🐥


